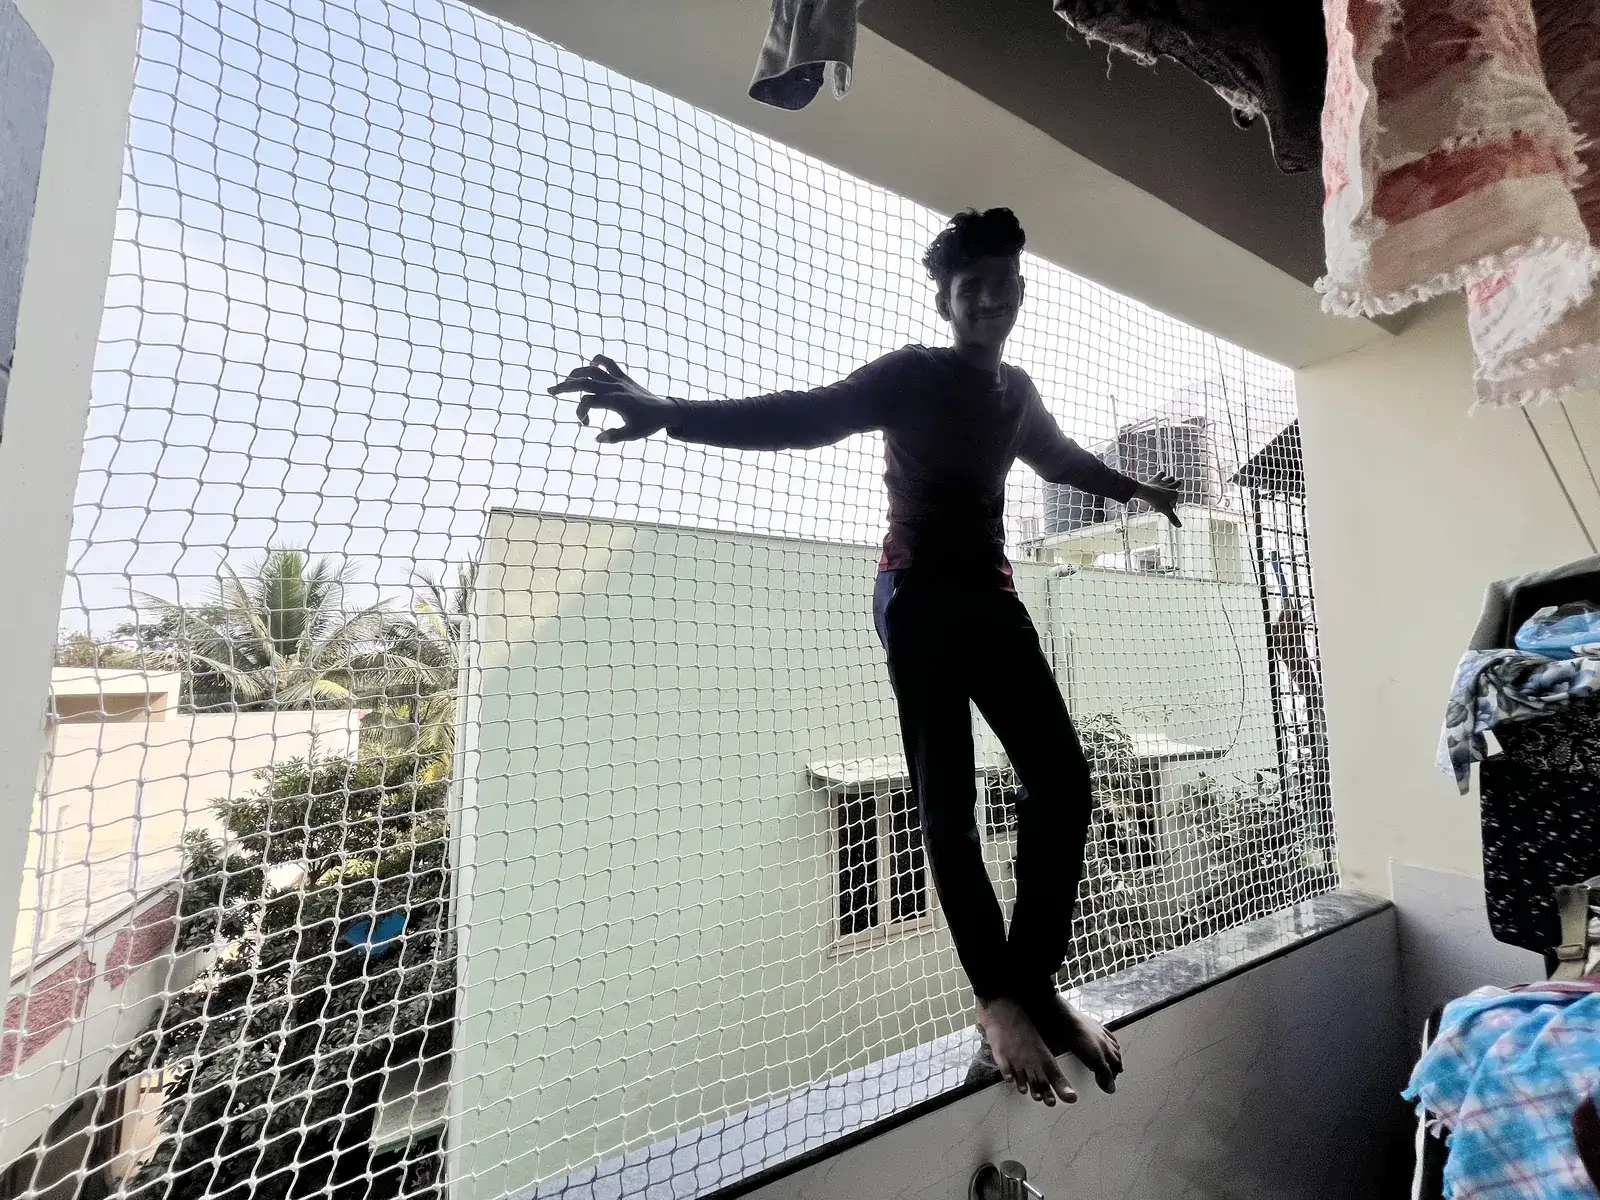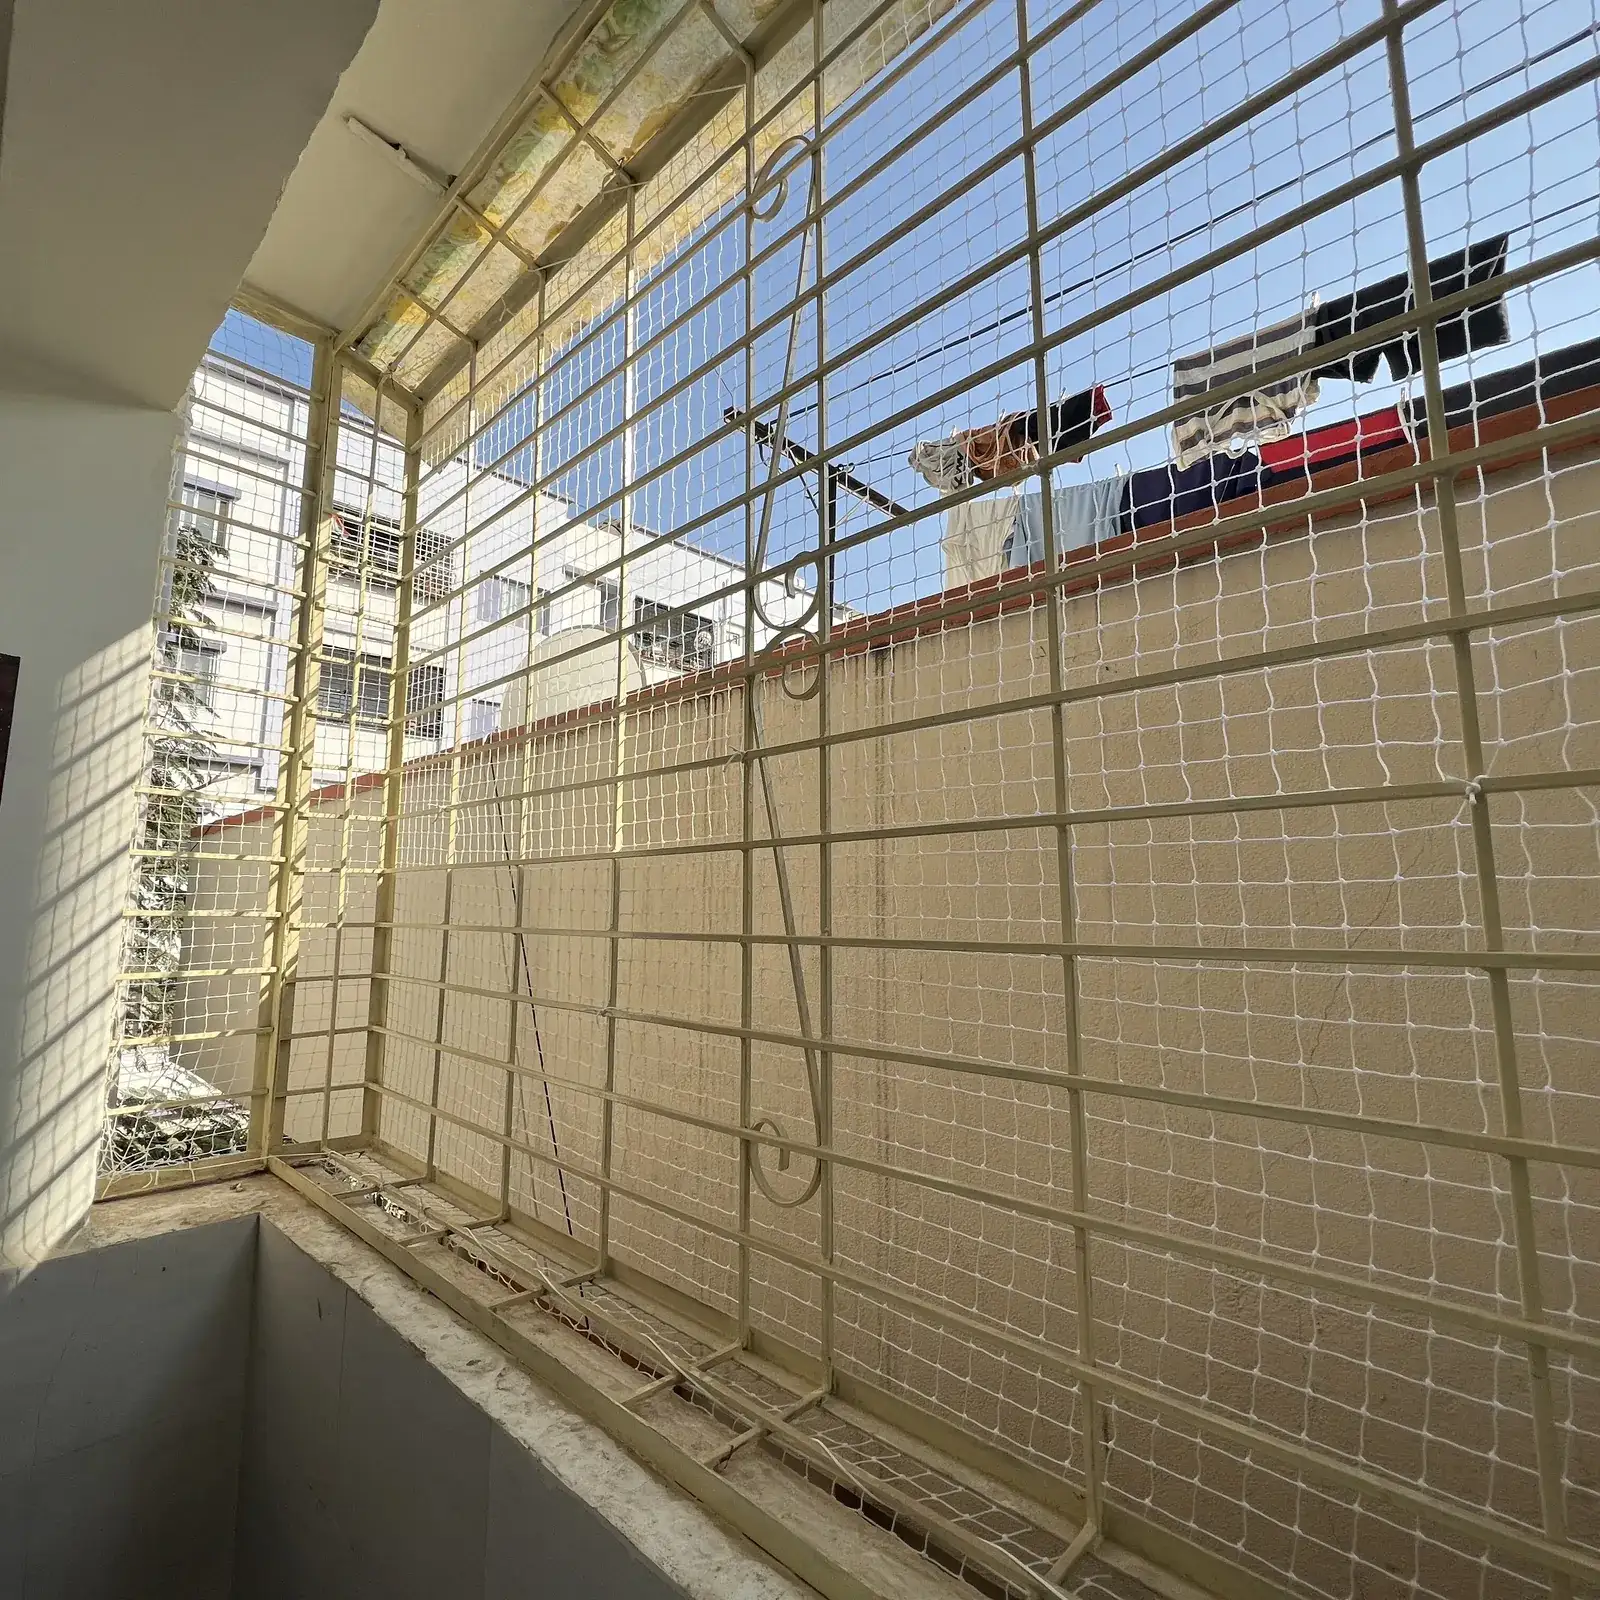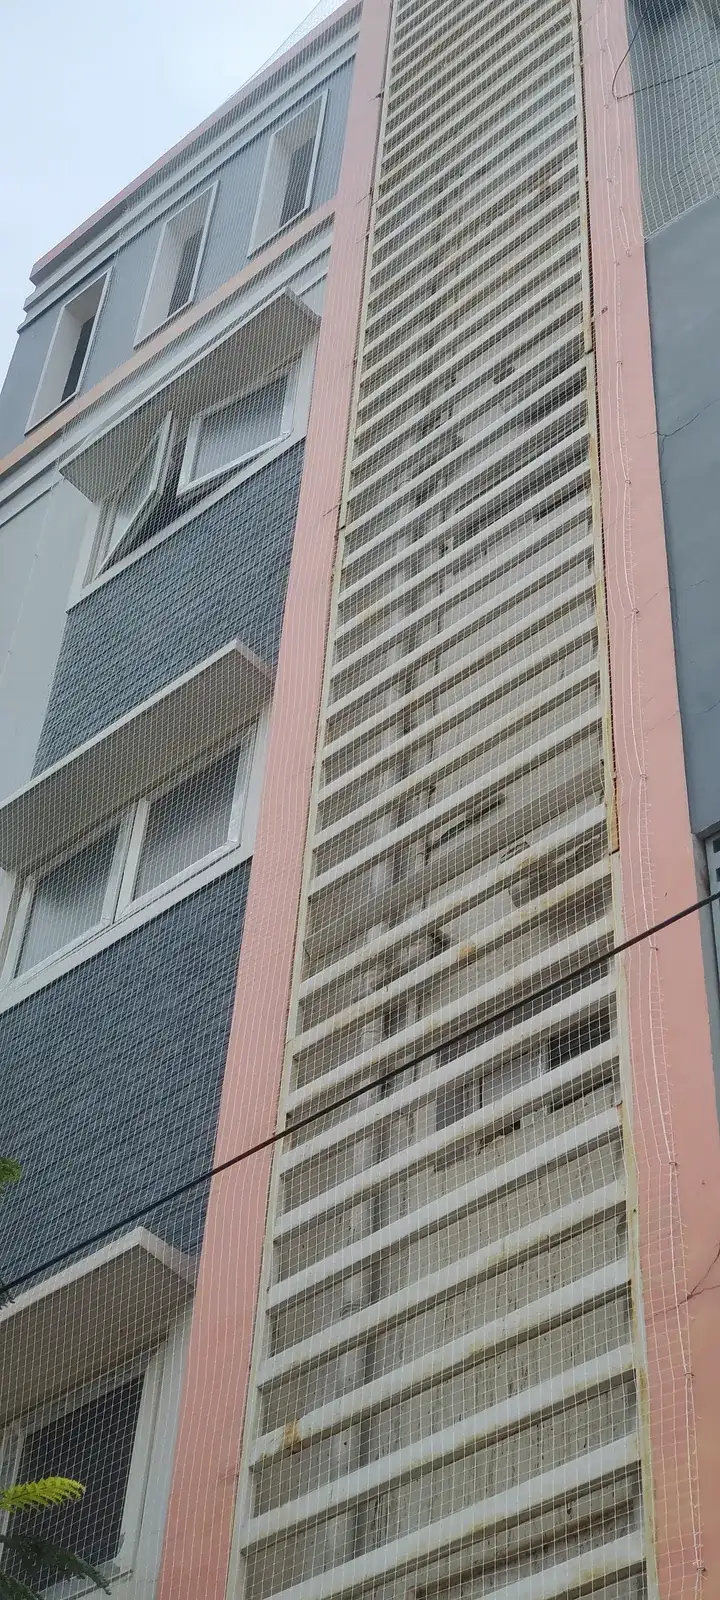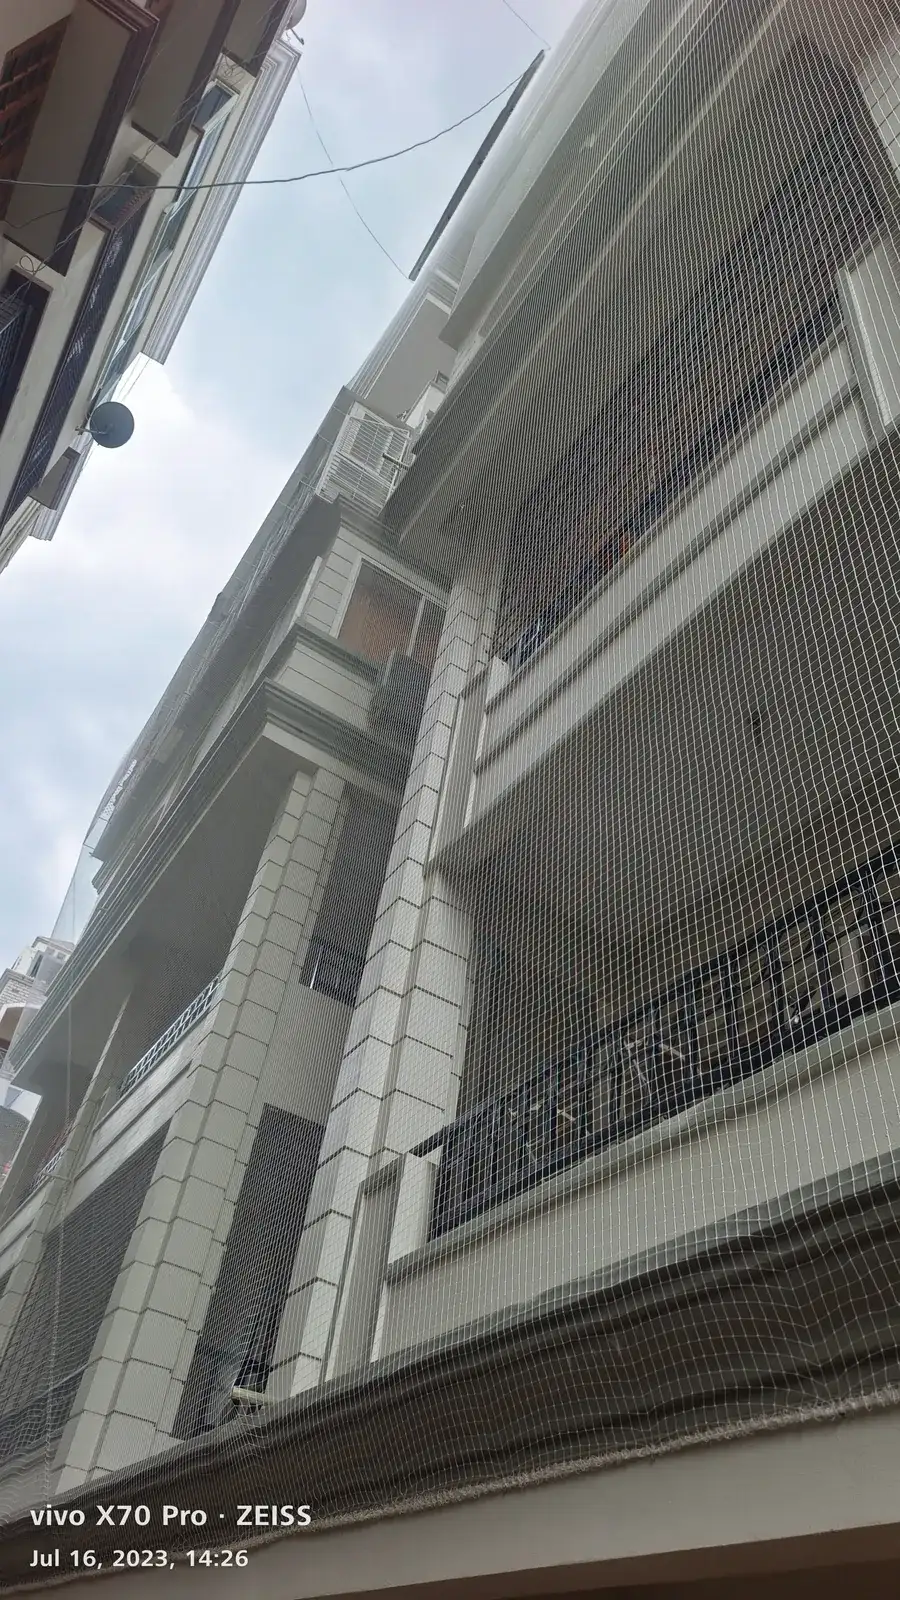
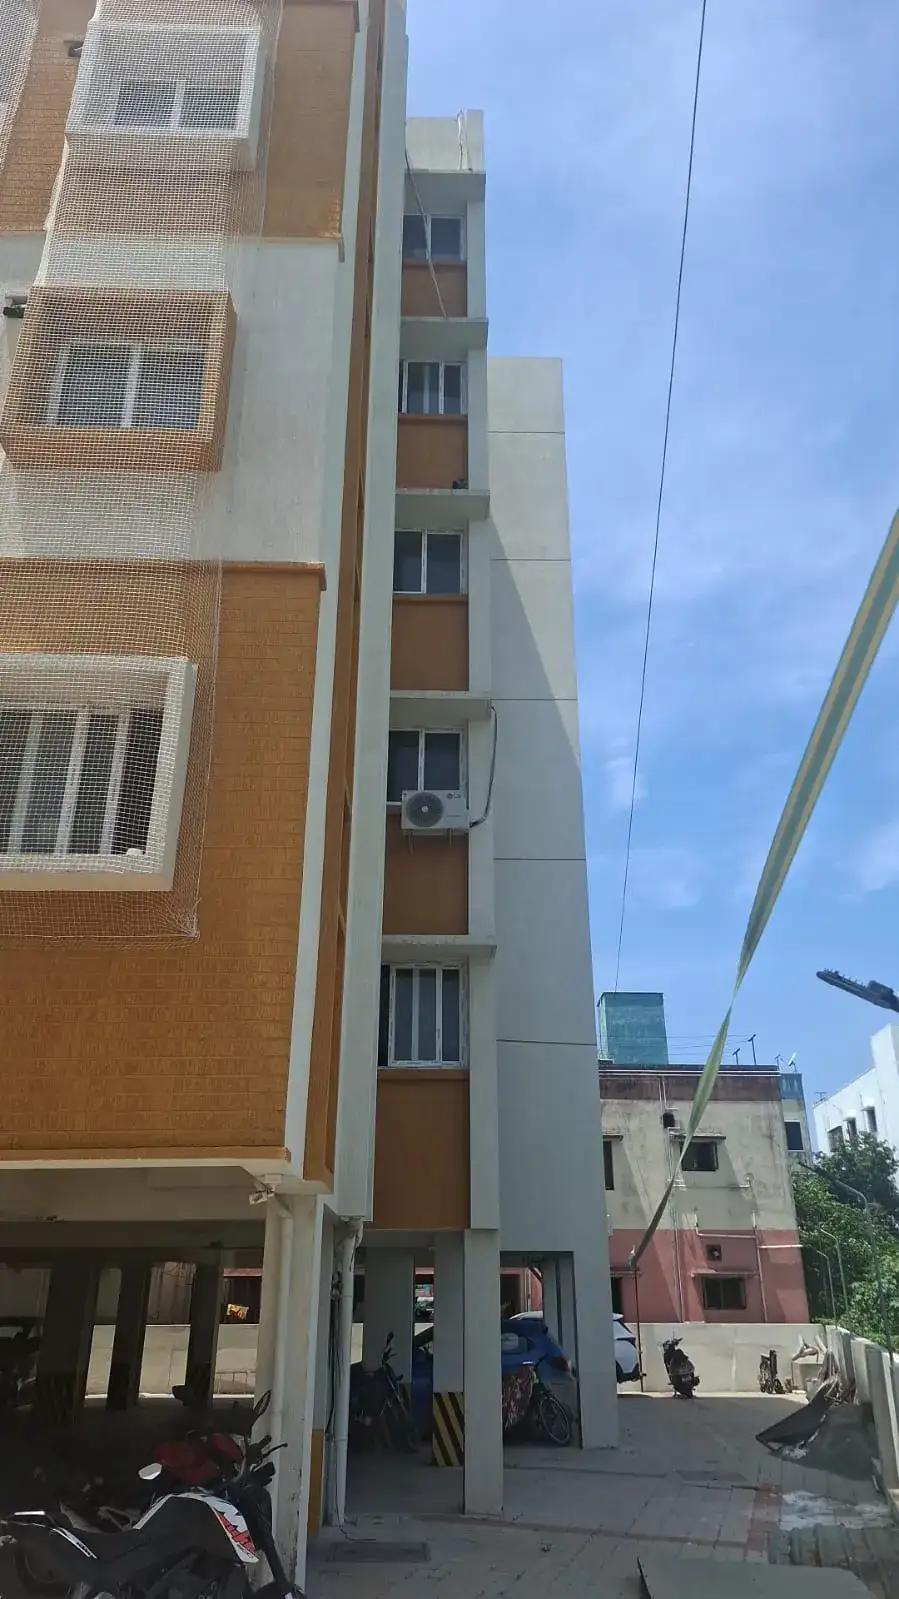
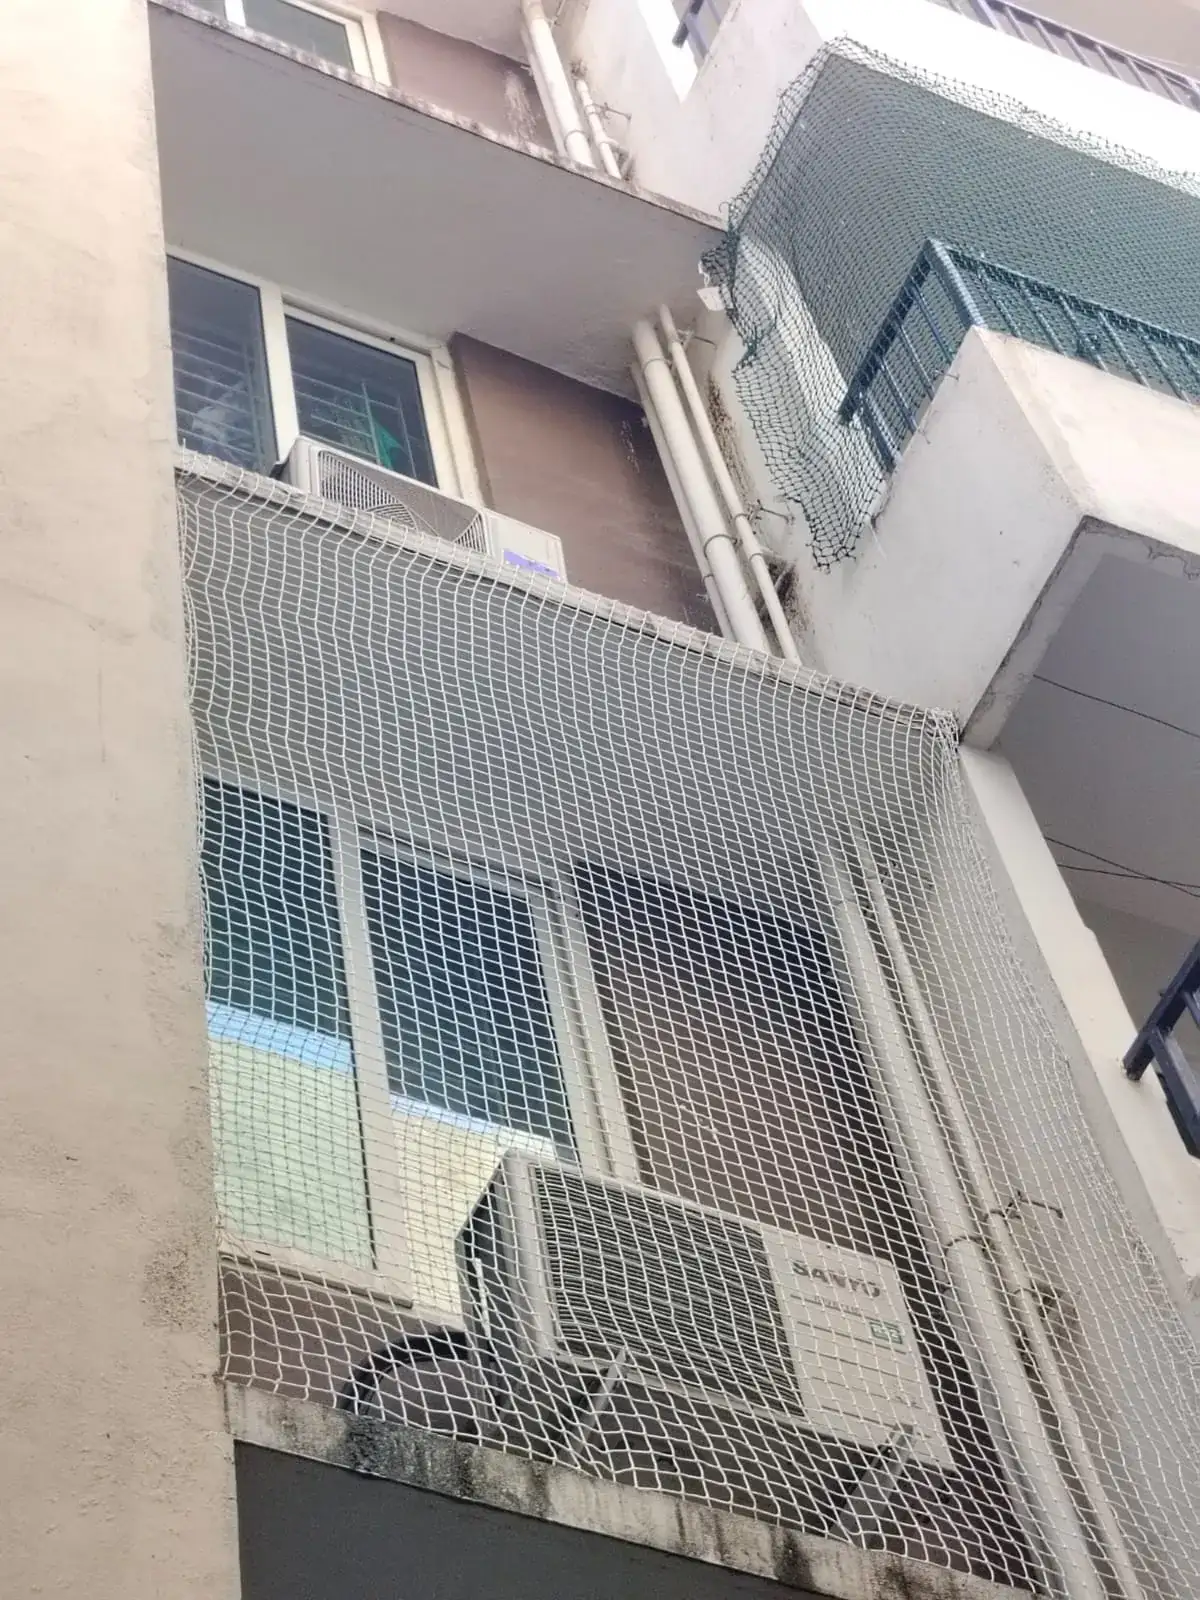
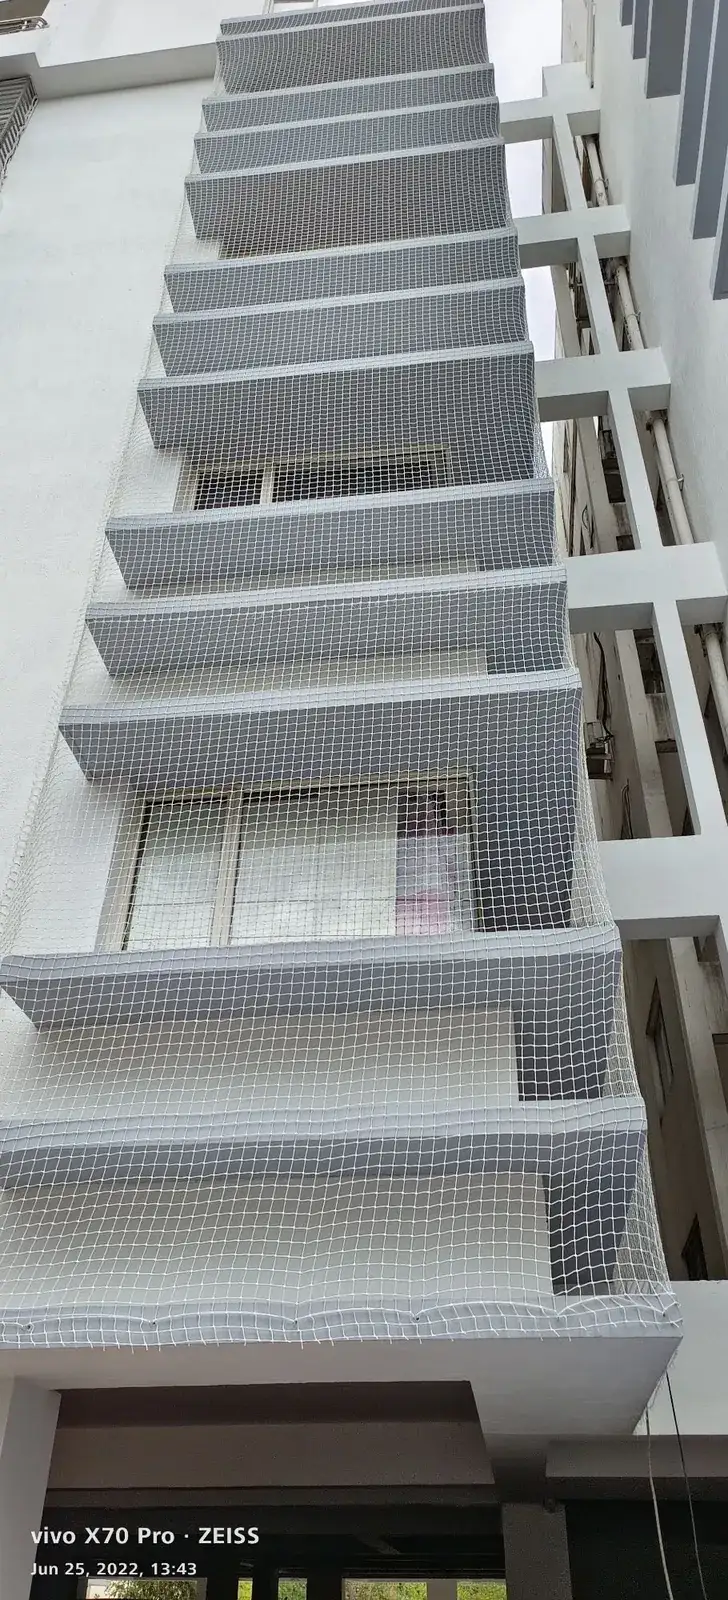
What a safety net does
Many homes have openings that are safe for adults paying attention but risky for children, pets, older people or anyone who slips. A safety net closes those openings with a strong mesh that still lets in air and light. It is fixed to the structure at short intervals, so a push or a fall against it is spread across the whole net instead of a single point.
Typical places we fit safety nets:
- Terraces with low parapet walls, where children play or clothes are dried
- Open staircases, especially the side gap between the steps and the wall, and wide gaps in stair railings
- Open shafts and cut-outs in floors, such as double-height living rooms and mezzanines
- Balconies and large windows without grills
- Building edges in common areas of apartments, such as terrace gardens and play areas
Materials
Safety nets use heavier material than bird nets.
| Part | What we use | Why |
|---|---|---|
| Net | Thick HDPE or nylon twine, knotted or knotless | Thicker twine resists cutting and stretching |
| Mesh | Around 40–50 mm for general use; smaller where children or small objects are the concern | Smaller mesh gives no foothold and stops toys |
| Treatment | UV-stabilised | Prevents the net from turning brittle in sun |
| Border | Heavy rope or stainless-steel wire rope | Carries the load to the anchors |
| Anchors | Stainless-steel eye bolts and hooks set into concrete or brick | Must hold firmly under load and not rust |
Knotless nets have a smoother surface, which some families prefer for children. Knotted nets are very strong and slightly cheaper. We explain the options on site.
Benefits
- Protection without walls or iron grills. Light and air still come in.
- Fast installation. Most jobs take hours, not days, with no welding or masonry.
- Low cost compared with raising a parapet, adding glass or fabricating a steel grill.
- Removable. The net can be taken down if your needs change, for example when children grow up.
- Also stops falling objects, such as toys, pots and tools dropping onto people below.
Installation, step by step
- Survey the opening. We check the edge, measure it and test the wall or slab where anchors will go.
- Choose the net. We agree the twine thickness, mesh size and colour with you.
- Set the anchors. Holes are drilled and stainless-steel eye bolts or hooks are fixed at close spacing, usually closer than on a bird net.
- Fit the border. A heavy rope or wire rope is run through the anchors and tensioned.
- Lace the net. The net is laced to the border all the way round, with extra ties at corners and joints.
- Load check. We push along the net by hand to make sure there is no slack and no anchor moves.
- Handover. We show you the finished net and explain what to check in the months ahead.
Maintenance and lifespan
Look at the net and anchors every few months. Check that:
- the border is still tight and there is no sag in the middle
- no ties at the corners have loosened
- the net is not cut, burnt or brittle
Clean with water and a soft brush. Do not hang heavy items from the net, and keep barbecues, lamps and other heat sources away from it. A UV-stabilised safety net in partial shade can last for several years. Nets in full sun should be inspected more often and replaced when the twine feels stiff or starts to fray.
Choosing between a safety net and an invisible grill
A safety net is the quicker, lower-cost option and is easy to remove later. An invisible grill uses stainless-steel cables in a fixed frame, looks neater and lasts longer, but costs more. For balconies, see balcony safety nets. If young children are your main concern, see children safety nets, where we explain the extra care we take for homes with toddlers.